 You head out to the grocery store, with every intention of sticking to your budget. It starts out well with you going through the produce aisle and then the breads, past the deli counter. And then it all comes to a screeching halt. The ‘reduced (non-food) items’ shelf, the “wow, these are such a good deal I better buy extra” items, and the “Must buy 8” (to get the sale price) items. Not to mention the “Oh yeah, I forgot we need this” stuff! Before you know it, you’re halfway done and already over budget. Believe me, you’re not alone. My husband and I have a running joke that I need to send him to the store alone when our bank account is low, because I can’t walk out of the food store without spending $100, even if I just go for eggs and milk. And I’m assuming that I am not the only one that has this issue.
After doing some research, I decided to make a list of tips that you (and I!) can follow to help stretch those $$Bucks$$ while we grocery shop.
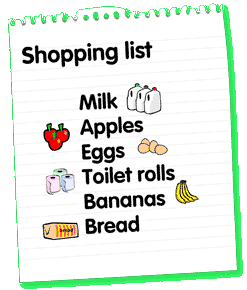 MAKE A LIST AND PREPARE BEFORE YOU GO!
To me, this is the most essential piece of advice in order to have a money saving kitchen. I plan my meals by what the store has on sale that week and the items I already have at home. It is sustainable because I am always rotating what I’m buying, and most of it (if not all) is on sale! Read the weekly sale flyer and organize your paper and/or digital (download that app!!) coupons as well. By doing this, (and sticking to it), you can easily save upwards of $30+ if your weekly order is $100 or more.
- STICK TO A FAMILIAR STORE!
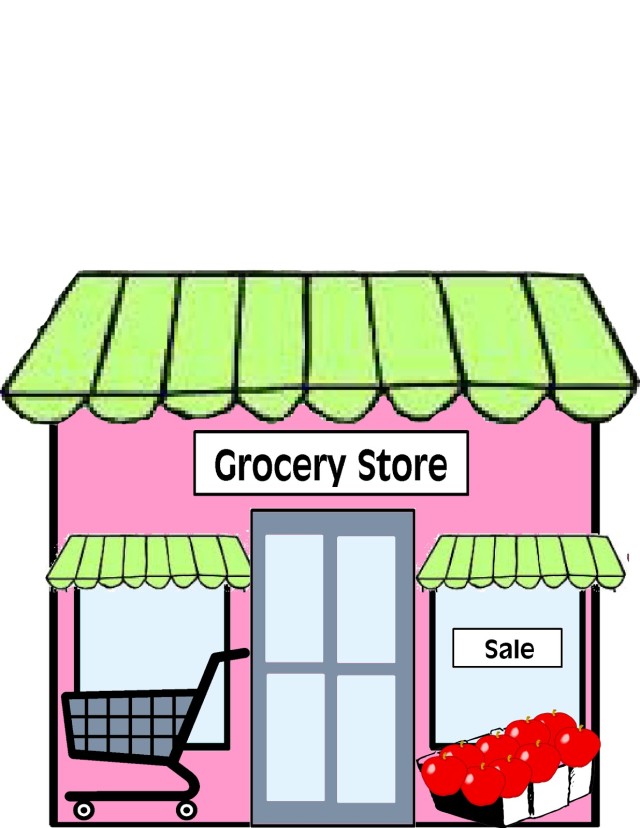
Be sure to know the layout of the store you are going to. Going to a new store with a sale list can really be hard and time consuming. Grocery stores are known for constantly moving items from here to there, just to get the customers wandering around and buying items they don’t really need, so at least being at a familiar store will help with this. Being consistent helps as well, as you will start to recognize these tactics and (hopefully!) not fall for them as often.
- CHECK DIFFERENT PARTS OF THE STORE FOR THE SAME ITEM!
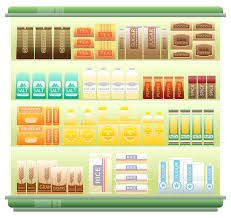
In my experience, I’ve found that you can find everyday items in several areas of the store. For instance, Minced Garlic (in a jar) can be found in the Produce section as well as what my store calls the “Ethnic” aisle. The difference is the price. A small 6 oz. jar of the garlic is $3.29 in Produce, whereas a short walk to the aisle and I purchased a 32 oz. jar for just $3.59! Many stores place smaller, more expensive items in a more ‘convenient’ spot for customers, to make for a quick buy. By doing some research in your store, I’m sure you will find a few of these hidden gems down the aisles and save yourself a few dollars!
 REPEAT AFTER ME: I DO NOT HAVE TO FILL MY CART!
Grocery carts have grown larger over the past few decades, and so have our waistlines. I think of this as the “eat everything on your plate” thing. Carts are pretty big, and when full, can really hit your wallet hard. So just stick to that list and don’t be disappointed if at the end of the last aisle it’s not full.
- DO NOT EXPECT TO USE ALL OF YOUR COUPONS!

When I make my list I take the coupons I need (and set up the digital ones) just for that trip, but I don’t always use them all. Once I get in the store and see the item and the sale, sometimes I change my mind. Perhaps they are sold out of the flavor/size/combo that I wanted, or maybe after thinking about it, I realize that it isn’t as good a deal as I had thought. Sometimes I have found a Manager’s Special that is an even BETTER deal, so I just scrap the whole coupon idea totally on an item. Just remember, it’s important to be flexible, because once you get to the store, you could possibly find a better deal. No biggie. Put that coupon back in your pocket or purse and use it another day!
I know it can be really hard to stick to a budget when shopping, but it’s not impossible. I always remind myself that no matter how small my budget for the week is, there is someone out there who has none, so be sure to make the most of it. I hope these tips have helped. If you have more, please feel free to leave a comment below! I would love to hear from you!
Happy Shopping!!
Suzy
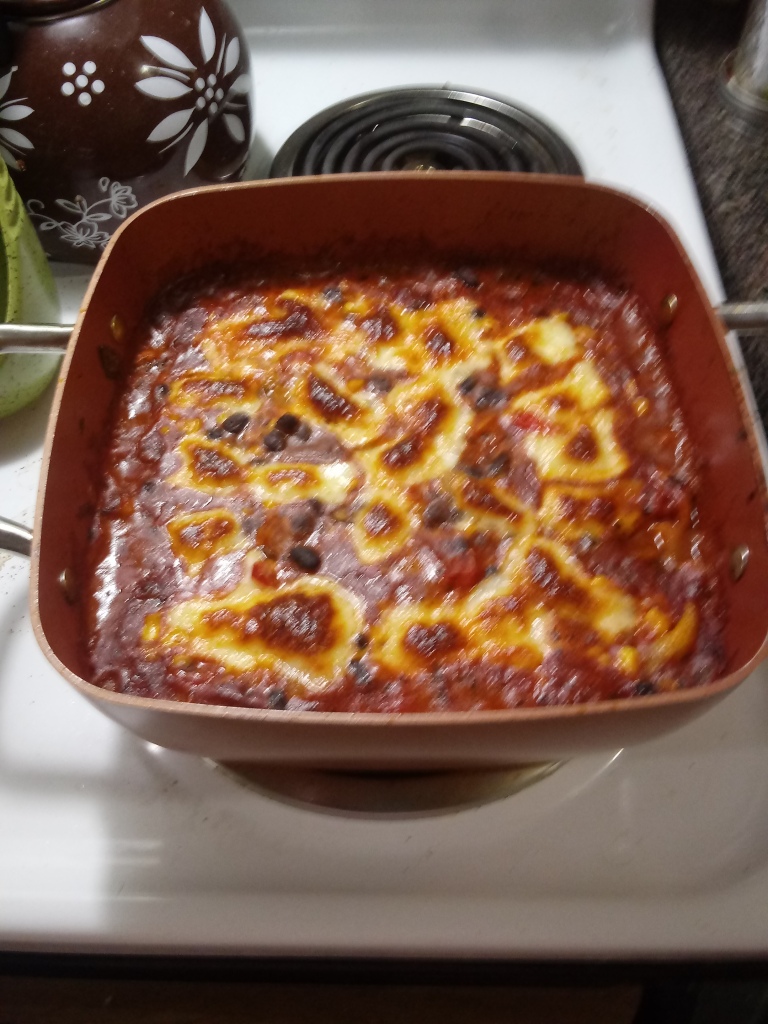
 I really love to make one-pot meals, not just for the easy cleanup, but the fact that you can make large portions and freeze them for another day. This is a great ‘leave it and forget it’ recipe, but you sure don’t have to leave it for long, as it cooks in only 6 minutes after pressure buildup. A great 30 minute (or less!) meal idea. Since this recipe has so many great flavors, you really don’t need to spend too much on the salsa ingredients, (jarred store brands will do) or, even better, if it’s the growing season, you can use soft tomatoes and peppers that you might find marked down at the grocery or, (even better) in your own backyard garden!
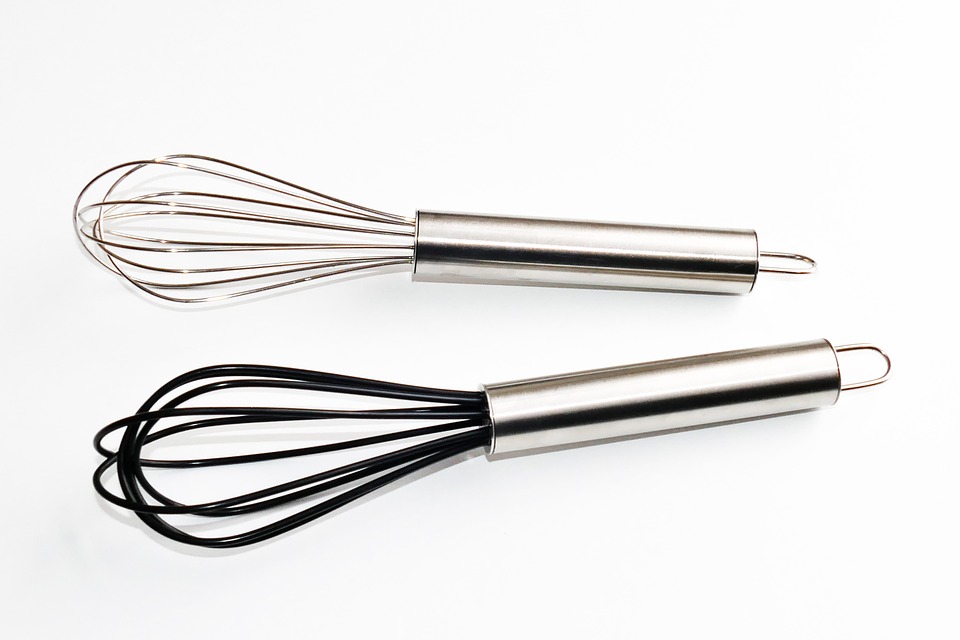 Whisk(s). Preferably a set of 3 (Small, Medium, Large). If I could only get one, I would pick Small (the larger ones don’t seem to catch as much of the food for me), and be sure it is METAL. Do not waste your money on cheap plastic when it comes to whisks. Much too flimsy!
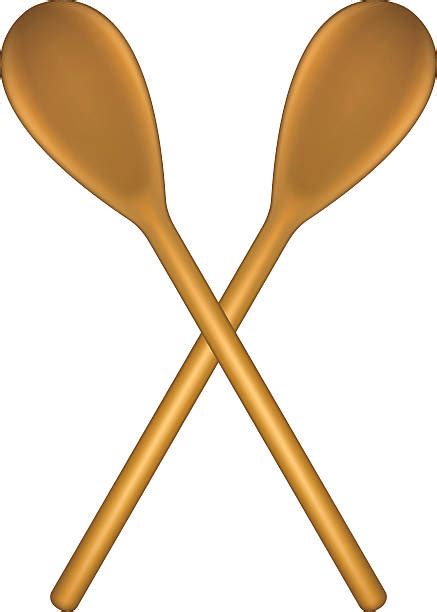 Wooden Spoons or Spurtles. When I started cooking, I never went without a small set (3 or 4) wooden spoons. I have since graduated to a large set of both wooden and silicone Spurtles, which are tools that have been used in Scotland for centuries (although the design has changed). Think of a spoon and a spatula all in one, shaped like a paddle, in different sizes. These are a matter of what your budget can handle, because a set of wooden spoons will do just as well. *Remember to always hand wash and DRY (not air dry) all wooden utensils and cutting boards, as they will get covered in mold and bacteria and have to be thrown out!
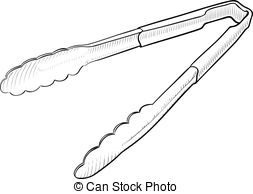 Tongs. These are one of the few exceptions, (although other cooks may disagree), I have found that I need not spend a lot on tongs to get a useful pair. In fact, the tongs I have in my kitchen now I bought at the dollar store! My only suggestion is that they are metal handled, and have silicone heads as to not scar your pots and pans. It’s important to have tongs for turning meats and cooking stir fry vegetables and tossing pastas.
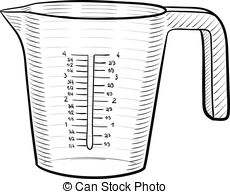 Measuring spoons and cups. It’s hard to avoid needing to have a set of these. I’m one of those cooks who ‘wings’ it a lot by just guessing, but for some recipes, it is imperative that you follow the directions. Cooking (and baking) are a SCIENCE, so you need to measure carefully!!
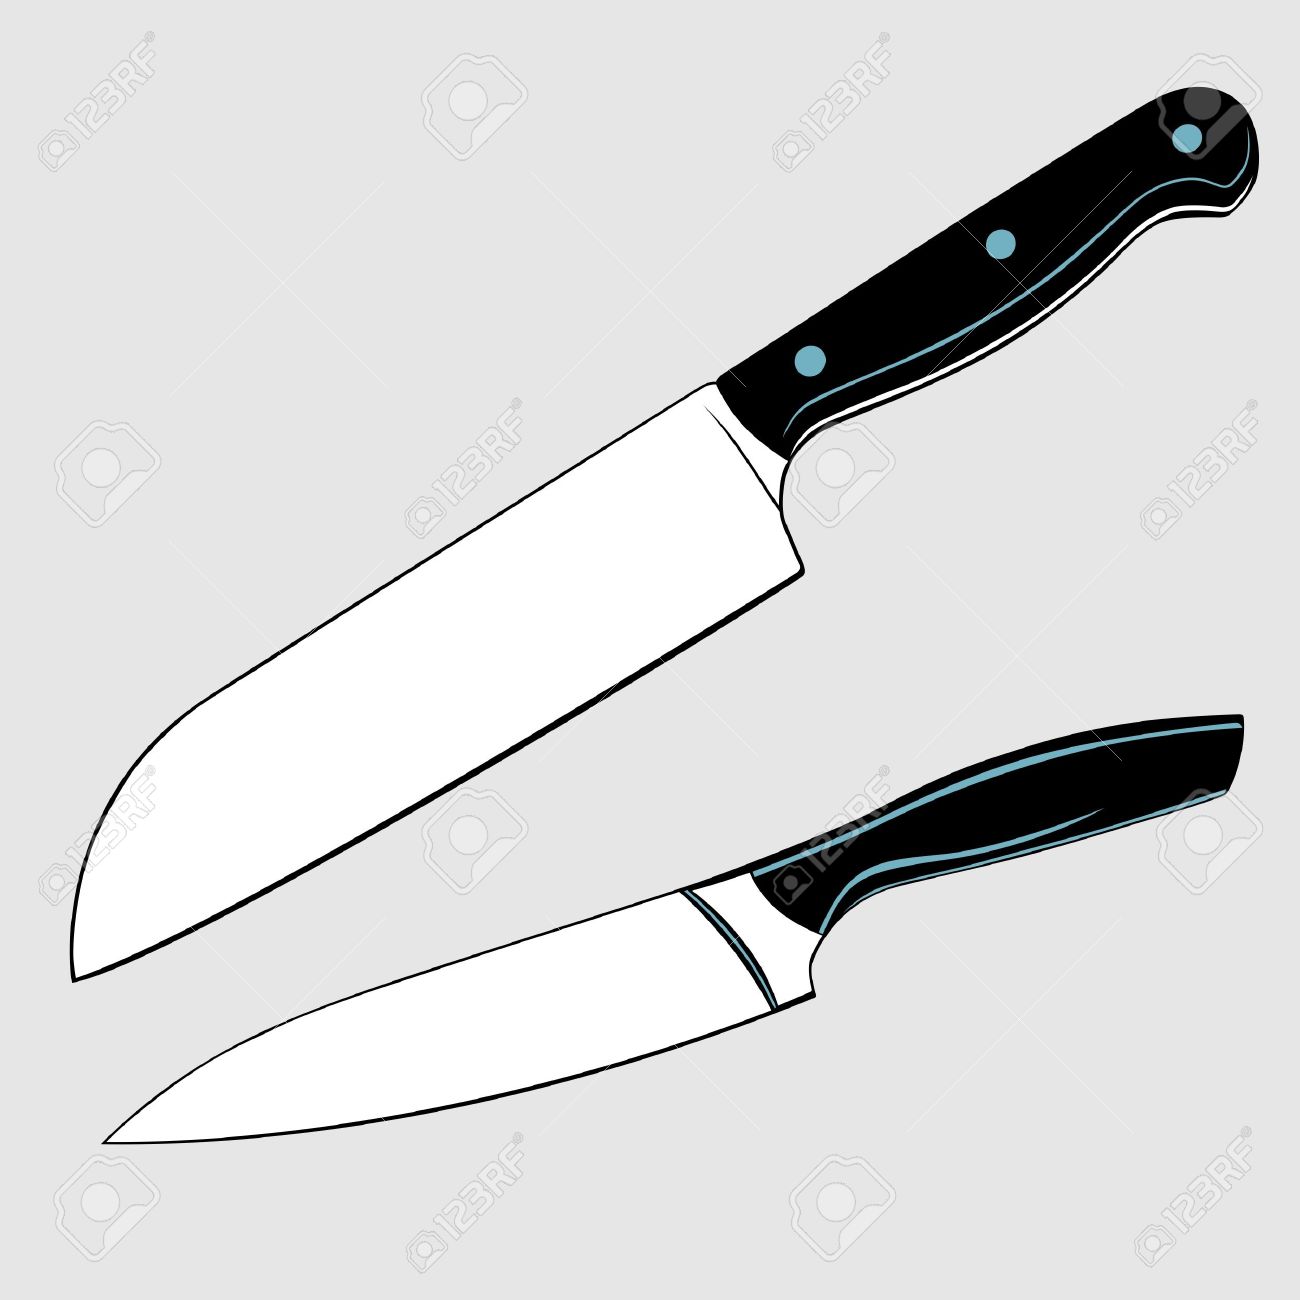 Knives. Duh! Of course I need knives, Suzy!! Right? Yes, but what knives? A whole bunch? This is one of those things that cooks will differ. For my kitchen, I use my Utility knife, Carving knife (and Fork), and Paring knife the most. I’ll also include a Peeler in this category (because I’m too clumsy to use a paring knife for peeling!) If I had to choose one, it would be the Utility knife (also known as a Chef’s knife). Capable of doing most jobs,(if sharpened well), although I would hesitate to peel with it!
 Cutting Board. Again, not a utensil, but I had to include it here, just to let you know my preference. Over the years, I have used Silicone, Wood (Bamboo, etc), and Glass cutting boards. I have come to mostly settle on the glass, because I don’t have to keep replacing them, so for me, that’s the most economical choice of the three. I have also found that I use my cookie sheet that came with a set of stoneware baking dishes. Stoneware is so versatile, and many years ago was a staple in many kitchens. Freezer to table, Oven Safe to 500F Degrees, Dishwasher Safe, AND Scratch Resistant! A great addition to any kitchen.
 Pen and Paper. Over the years I have come to find that I simply must have a notepad and pen or a whiteboard nearby when I’m cooking, because many times I find that I have to tweak a recipe (that I want to make again) with substitute ingredients (to save $$!!) or fix errors. In my case, I’m working on a cookbook, so it’s a must have!
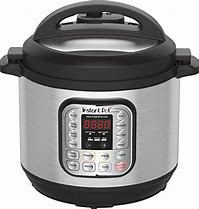
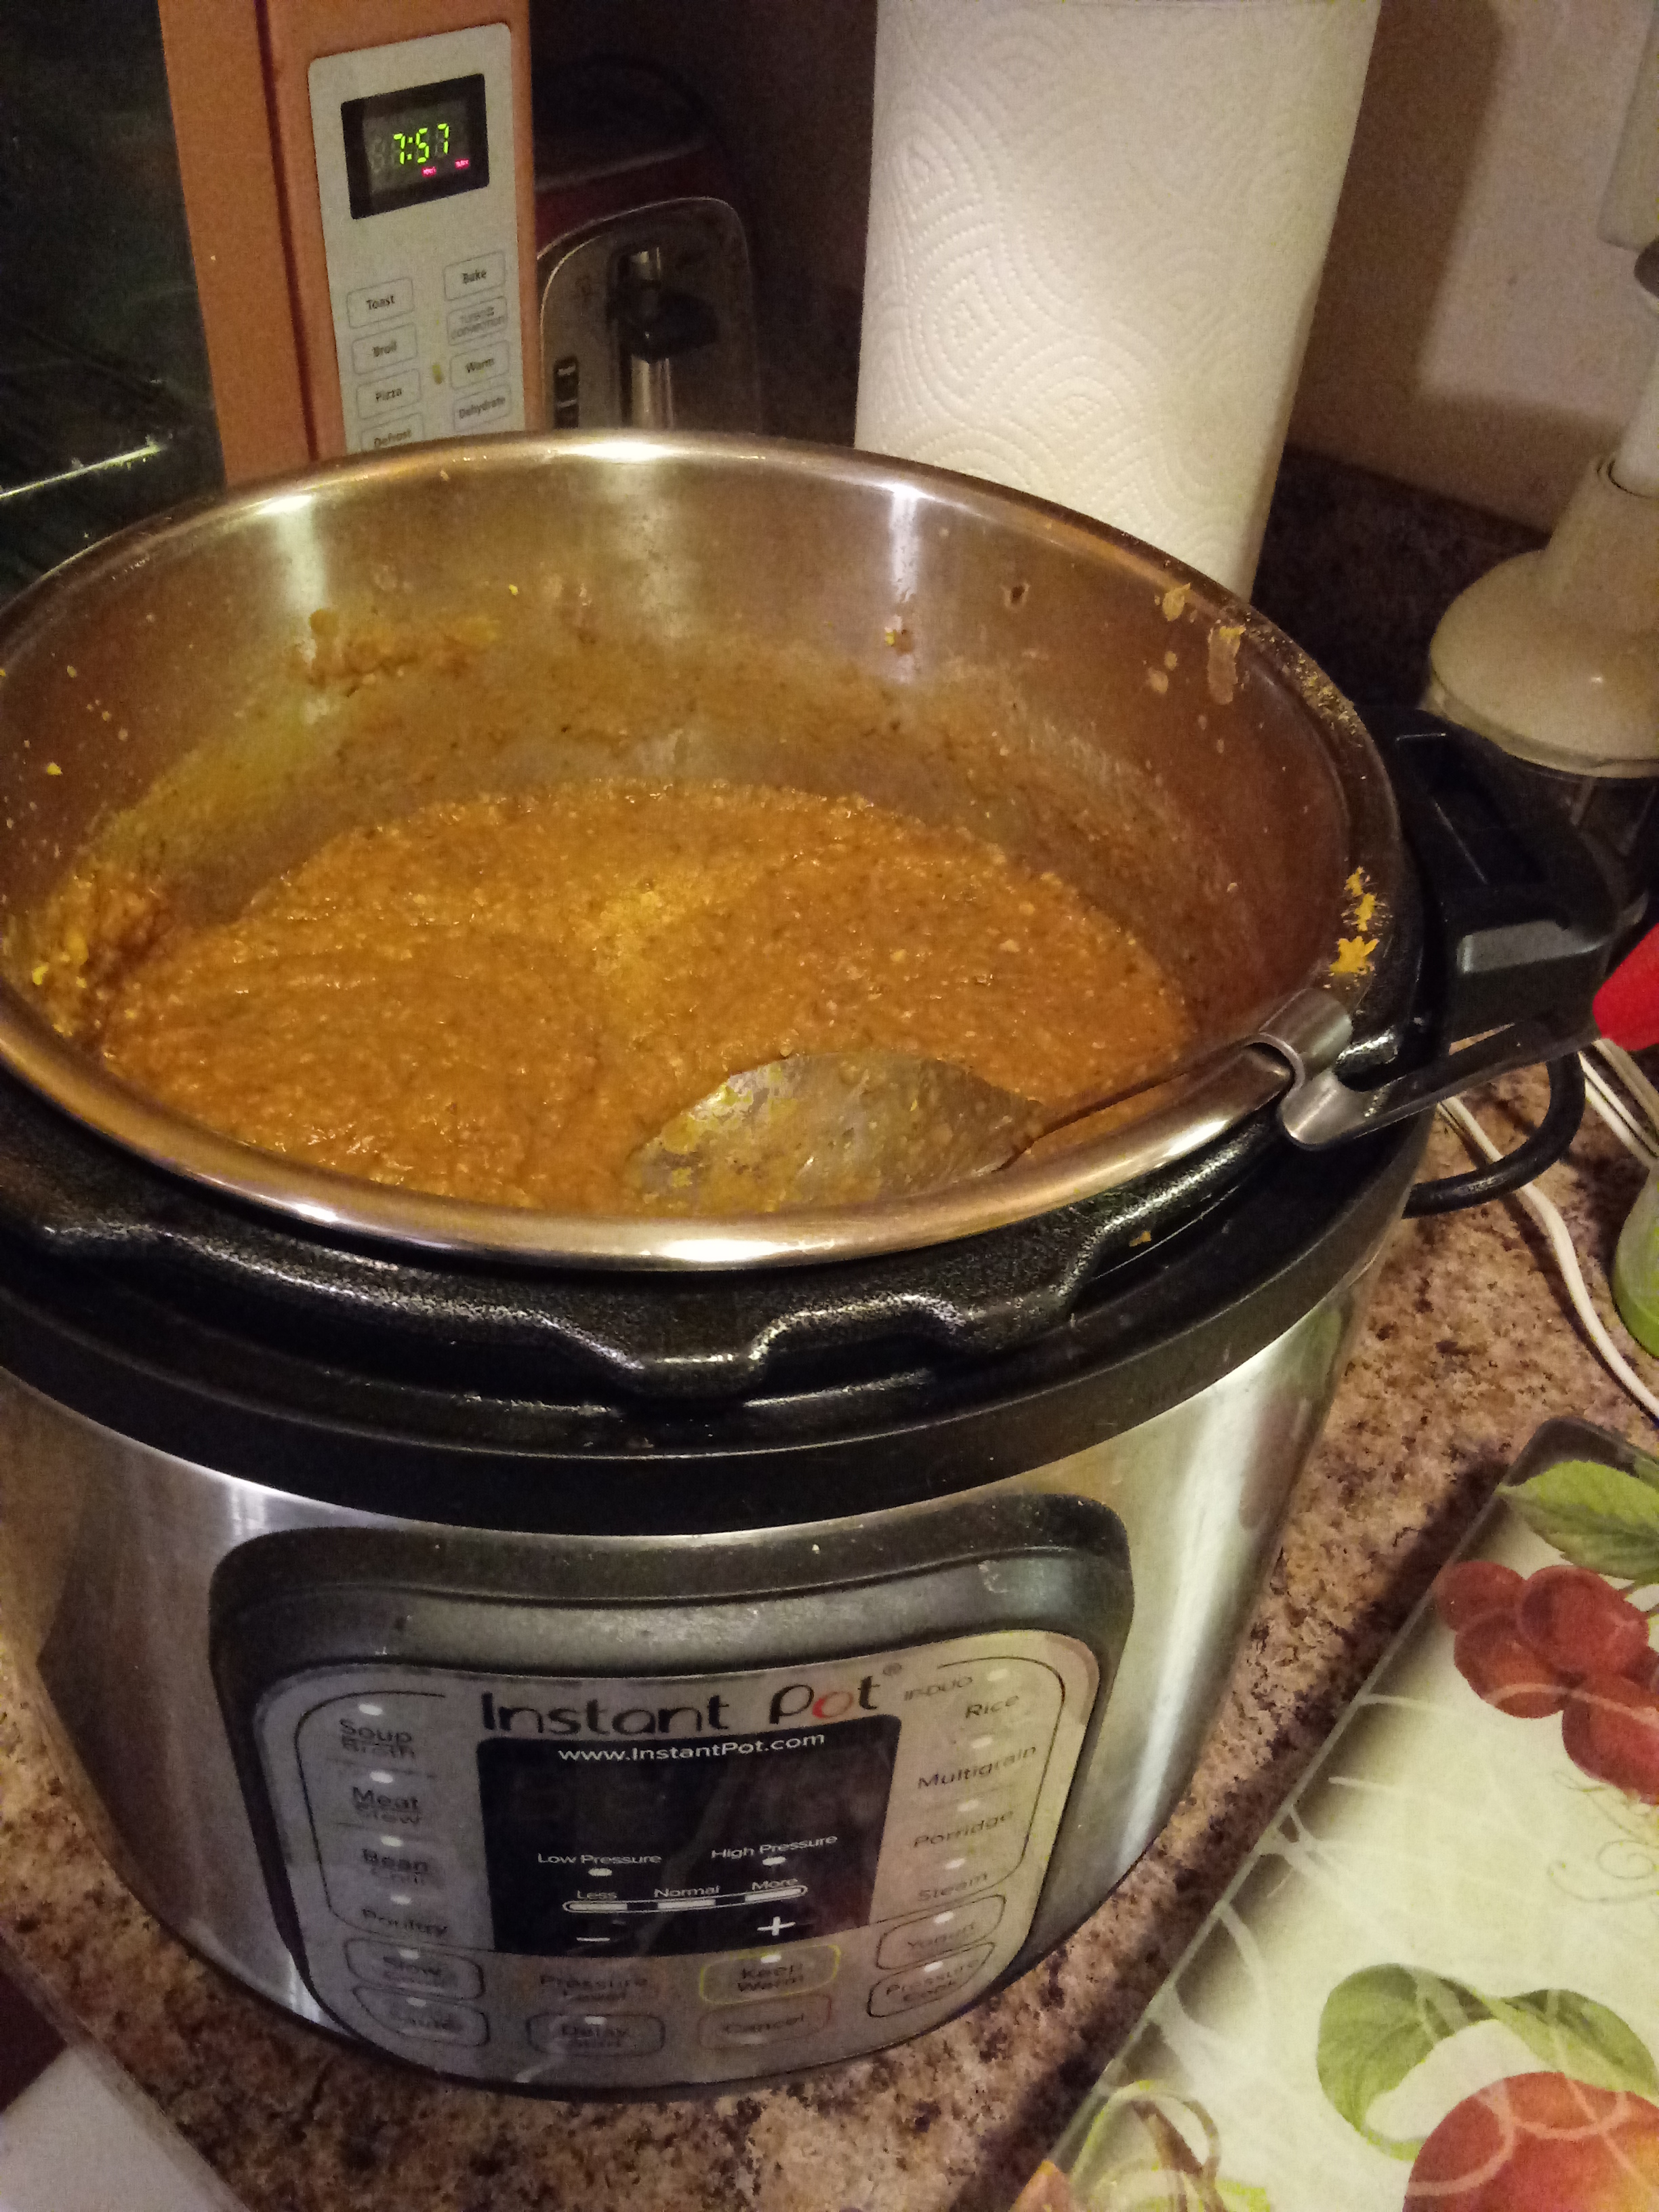 I made this soup in my Instant Pot last night and it came out delicious, so I naturally wanted to share it with all of you. My family has decided to try (and stick to) a one night a week Meatless night, so this was our first week. The soup is not vegan, but I suppose if you use Vegetable Stock instead of Chicken Stock, it would be! It always amazes me how quick dried beans cook up in the pressure cooker! It’s fast, simple, very economical to make, and I fed 4 of us and still have plenty of leftovers for lunches.
