Category Archives: Recipes

Instant Pot Teriyaki Apricot Chicken

“MOM, chicken AGAIN????!!” How many times have I heard that? Ugh. I came up with this boneless chicken recipe to change things up a bit. It’s an easy one-pot meal that the whole family will love. Feel free to change up the fruit you use, I used the apricots because I happen to have a can of apricots that I didn’t know what to do with. I thought you could easily substitute pineapple or mandarin oranges, whatever YOU happen to have in your pantry!

*NOTE* The key to successfully making recipes in the Instant Pot without getting a BURN notice is to NOT STIR the ingredients that you are going to pressure cook. Carefully stack the ingredients on top of each other (even the sauce!) and you will not have a problem.

Ingredients

  • Boneless chicken breasts (I used 6, but you can add or subtract from that) If you use thin breasts, they can be FROZEN!!
  • 2 Cups White Rice with 2 Cups Water
  • Medium sized Onion, diced
  • 2 tsp Ginger
  • 1 Tbsp Cumin
  • 4 Tbsp Minced Garlic
  • 1/2 tsp Red Pepper Flakes
  • Can of Apricots (chunks)
  • 3/4 Cup Teriyaki Sauce (I used Sweet Baby Ray’s brand)
  • 1/3 Cup Light Brown Sugar
  • 3 tsp Apple Cider Vinegar

SLURRY INGREDIENTS

  • 3 Tbsp Corn Starch
  • 4 Tbsp Cold Water
  1. Rinse rice well and put in instant pot with 2 Cups of water.
  2. Using stacking technique, (see NOTE above), Add meat, spices, onion and apricots (fruit). DO NOT STIR.
  3. Add Teriyaki Sauce. DO NOT STIR.
  4. Cook on High Pressure for 6 minutes, with a 10 minute Natural Release.
  5. Add Brown Sugar and Vinegar. Stir.
  6. Change Instant Pot function to SAUTE.
  7. Make Slurry: Combine Corn Starch and Water and whisk together.
  8. Add Slurry to thicken while you carefully stir mixture and chicken.

Any questions? Did you make this recipe? Please leave feedback/comments below! I would love to hear from you! ENJOY!!!

Suzy

Thanksgiving Leftover Meatballs

It’s that time of the year again. Turkey, turkey and more turkey. My mom used to get through it by making her (in)famous “Turkey Tetrazzini”, AKA Cream of Mushroom soup and leftover turkey on noodles. Okay, so she wasn’t a very imaginative cook, but, in her defense, she did have to feed 7 of us while working most days. My dad wasn’t big on eating out, so it was cooked meals 7 days a week.

I thought up these meatballs as a way of using up not just the turkey, but the mashed potatoes, stuffing, cranberry sauce and gravy too!!

Ingredients

  • 5 Cups Turkey, stripped off bird
  • 3 Cups prepared Mashed Potatoes
  • 3 Cups prepared Stuffing
  • 1 Cup Cranberry Sauce (Optional)
  • 1 or 2 Cups Turkey Gravy
  • 3 Large Eggs

Preheat Oven to 400F Degrees

  1. Using blender or food processor, chop turkey until it’s the consistency of ground meat. Put in large bowl.
  2. Add stuffing to blender or food processor and puree until smooth. Add to bowl.
  3. Add potatoes, cranberry sauce (optional), and eggs to mixture in bowl. Mix well, use a hand mixer if you want!
  4. Make individual meatballs by forming into 2 inch balls. I use an ice cream scooper, but whatever method you prefer is fine. Put on greased cookie sheet.
  5. Bake at 400F Degrees for 20 minutes.
  6. OPTIONAL STEP: If you would like to have your meatballs more firm and brown on top, raise oven temperature to 450F Degrees, move rack up one notch in oven and bake an additional 10 minutes. I did this to ours, as shown in picture, as we prefer them this way.
  7. Serve with Gravy over noodles or rice.

*Yields approximately 35 meatballs, ready to serve and/or freeze*

Any questions or opinions? Please leave comments below and I’ll be sure to answer. I would love to hear from you!! ENJOY!!

Suzy

Instant Pot Taco Bowls

This is a great weeknight dinner that can be made hands-off, so you can get some other stuff done while it’s cooking. It’s a little unusual, because I don’t saute the meat, I cook it in a block (like it comes in the package), essentially steaming it. A big PRO is that you can cook the meat FROZEN, just in case you didn’t get it out of the freezer in time to cook! (Oh no, none of us would do THAT, now would we? wink wink!!)

Ingredients

  • 2lbs Ground Beef, Chicken or Turkey (frozen or thawed)
  • 1 bag Corn Chips (or Pre Made Taco Bowls-a bit pricey!)
  • 2-15oz cans Black Beans, drained
  • 24oz jar of Salsa
  • 12oz jar Chili Con Queso
  • 1lb bag frozen Corn
  • 1 cup Water
  1. Add water to bottom of inner pot, and place ground meat on trivet
  2. Cook meat. FROZEN: 25 mins on High Pressure, THAWED: 15 mins on High Pressure. Natural release for 10 mins. Check meat temperature to ensure safe cook (Beef: 145F-165F, Turkey/Chicken: 165F)
  3. Remove trivet. DO NOT DRAIN WATER. Crumble meat in pot.
  4. Stir in beans, salsa, corn and con queso with meat.
  5. Pressure cook 0 (YES ZERO) mins on High Pressure, IMMEDIATELY Quick Release.
  6. Line serving bowls with a layer of corn chips and spoon mixture over them. Add toppings, if desired.

SUGGESTED TOPPINGS: Sour Cream, shredded Cheddar Cheese, Taco Sauce, Avocados, Diced Onions or Chives.

Any questions? Please leave comments below and I’ll be sure to answer any questions you may have. I’d love to hear from you!! Enjoy!!

Suzy

Cool Summer Pasta Salad

Raw Pasta

This is one of those recipes that you can use your Instant Pot for or not. I did use mine, since it’s summertime here in New Jersey, and the humidity is over the top. No boiling noodles, and you can assemble and serve it all in one pot! There’s no photo of this, as my family ate it all up in one sitting!!

Ingredients

Salad

  • 1 lb uncooked Pasta (I used Rigatoni, but you can use whatever you have on hand)
  • 6 Cups Water (to cook pasta)
  • 15 oz. Canned Corn, drained
  • 6 oz. Cheddar Cheese, cubed
  • 1 Medium Onion, diced
  • 1 Large Cucumber, diced
  • 2 cans Tuna, drained

Dressing

  • 3 Tbsp. Honey
  • 2 Tbsp. Dried Basil (I used 2 short stalks of fresh basil)
  • 1 Tbsp. Dried Oregano
  • 2 Tbsp. Minced Garlic (or 2 cloves, minced)
  • 1/2 Cup Olive Oil
  • 1/3 Cup Balsamic Vinegar
  • 1/2 Cup Parmesan
  • Salt and Pepper, to taste
  1. Boil pasta. If using your Pressure Cooker, use 6 cups of water per 1 lb. of pasta, and cooking time is 1/2 of what is on the box, minus 1 minute. (EXAMPLE: If box says 10 minutes, then 5 minutes is half time minus 1, so 4 minute cook time)
  2. Drain pasta and cool in freezer for 15 minutes. You could also put it in an ice water bath, which is quicker but more hands on.
  3. Add remaining “Salad” ingredients and stir well, until everything is incorporated into pasta.
  4. In small bowl mix together Dressing ingredients. You can use a handheld blender, small food processor, or a whisk for this. Sauce should be smooth and creamy.
  5. Pour sauce over ingredients in bowl and mix well. Store any leftovers in refrigerator. YUM!!

Have you made this recipe?? Please leave any comments or questions below, as I would love to hear from you! Enjoy!!

Suzy


Instant Pot Honey Mustard Chicken Sausage

I made this last night for dinner in my 6 Qt Instant Pot. Quick prep and clean up, and it was delicious! As with most of my Instant Pot recipes, if you don’t have the sausage, you can do substitutions. Pork Chops, Boneless Chicken Breasts, or Chicken Thighs, just to name a few! After all, it’s all about the sauce!!

Ingredients

  • Chicken Sausage or substitution meat
  • 1 Cup Water
  • 1 1/2 Cups Mayonnaise
  • 1/2 Cup Honey
  • 1/2 Cup Spicy Mustard
  1. Place meat on rack in pot. Add water. Pressure cook for 6 minutes on High, Natural Release, 5 minutes.
  2. Remove meat, drain all but 1/2 Cup of water.
  3. Whisk together Mayonnaise, Honey and Mustard in a bowl, and add to water. Whisk until smooth and add meat, coating in sauce.
  4. Saute mixture until it starts to bubble ( 3-5 minutes-keep an eye on it!). Set Instant Pot to Keep Warm and cover for 15 minutes.

This smooth and creamy sauce is a great alternative to the usual jarred sauces (so much SALT!!). Enjoy!!

Suzy

PS- Yeah, I like ground pepper LOL

Cheesy Pizza Bean Chili

This recipe is a twist on original chili, using some pizza ingredients to make it special. It’s perfect comfort food for these trying times. Cooks up fast and freezes great, so you can make a large batch and have it another night so you don’t have to cook!!

Ingredients

  • 2 cans (15 oz) Pizza Sauce
  • 1 cup Water
  • 2 tbsp Oil
  • 2 cans (15 oz) Black Beans or Red Kidney Beans
  • 2 cups grated Cheddar Cheese
  • 1/2 lb (8 oz) sliced Mozzarella Cheese
  • 1/3 cup Garlic Powder OR 3 tbsp Minced Garlic
  • 1/3 cup Dried Basil OR Fresh Basil
  • Black Pepper to taste
  • 1 cup Sliced Green/Yellow/Red Peppers (whichever you prefer!)
  • 1 large Onion, sliced
  • 1 lb bag of Frozen Corn

PREHEAT OVEN TO 400F degrees

  1. Rinse beans in colander (removes salt)
  2. Saute onions, peppers and spices in oil in hot pan
  3. Add corn and continue to saute
  4. Add pizza sauce, water and cheddar. Stir well, turn off heat
  5. Arrange mozzarella slices on top of mixture
  6. Bake at 400F degrees for 30 min, or until cheese melts and is brown
  7. Serve with bread or over rice to stretch for large family!!

FREEZES WELL!! Enjoy!

Suzy

Salsa Chicken One-Pot

Salsa JarI really love to make one-pot meals, not just for the easy cleanup, but the fact that you can make large portions and freeze them for another day. This is a great ‘leave it and forget it’ recipe, but you sure don’t have to leave it for long, as it cooks in only 6 minutes after pressure buildup. A great 30 minute (or less!) meal idea. Since this recipe has so many great flavors, you really don’t need to spend too much on the salsa ingredients, (jarred store brands will do) or, even better, if it’s the growing season, you can use soft tomatoes and peppers that you might find marked down at the grocery or,  (even better) in your own backyard garden!

Equipment Necessary

  • 6qt or larger Electric Pressure Cooker

Ingredients

  • 2lbs Ground Chicken
  • 1 Large Onion, diced
  • 2 (15oz) cans Black Beans, drained
  • 1 (12oz) jar of Salsa
  • 1 (15oz) jar of Salsa Con Queso
  • 1lb Dry Ziti Pasta
  • 1 (6oz) can Tomato Paste
  • 1 (8oz) cup jarred Taco Sauce
  • 3 Cups Water
  • Sour Cream (optional)
  1. Saute the Ground Chicken and Onion using the Saute option on your pressure cooker.
  2. Cancel Saute function, add rest of ingredients.
  3. Cook on High Pressure for 6 minutes, then do a Quick Release. Serve with dollop of Sour Cream, if desired. YUM!

Leftovers freeze great, and a quick one-pot cleanup. Please leave any comments or questions below, I would love to hear from you! Enjoy!

Suzy

Pressure Cooker Lentil Mushroom Soup

Lentil Mushroom Soup 
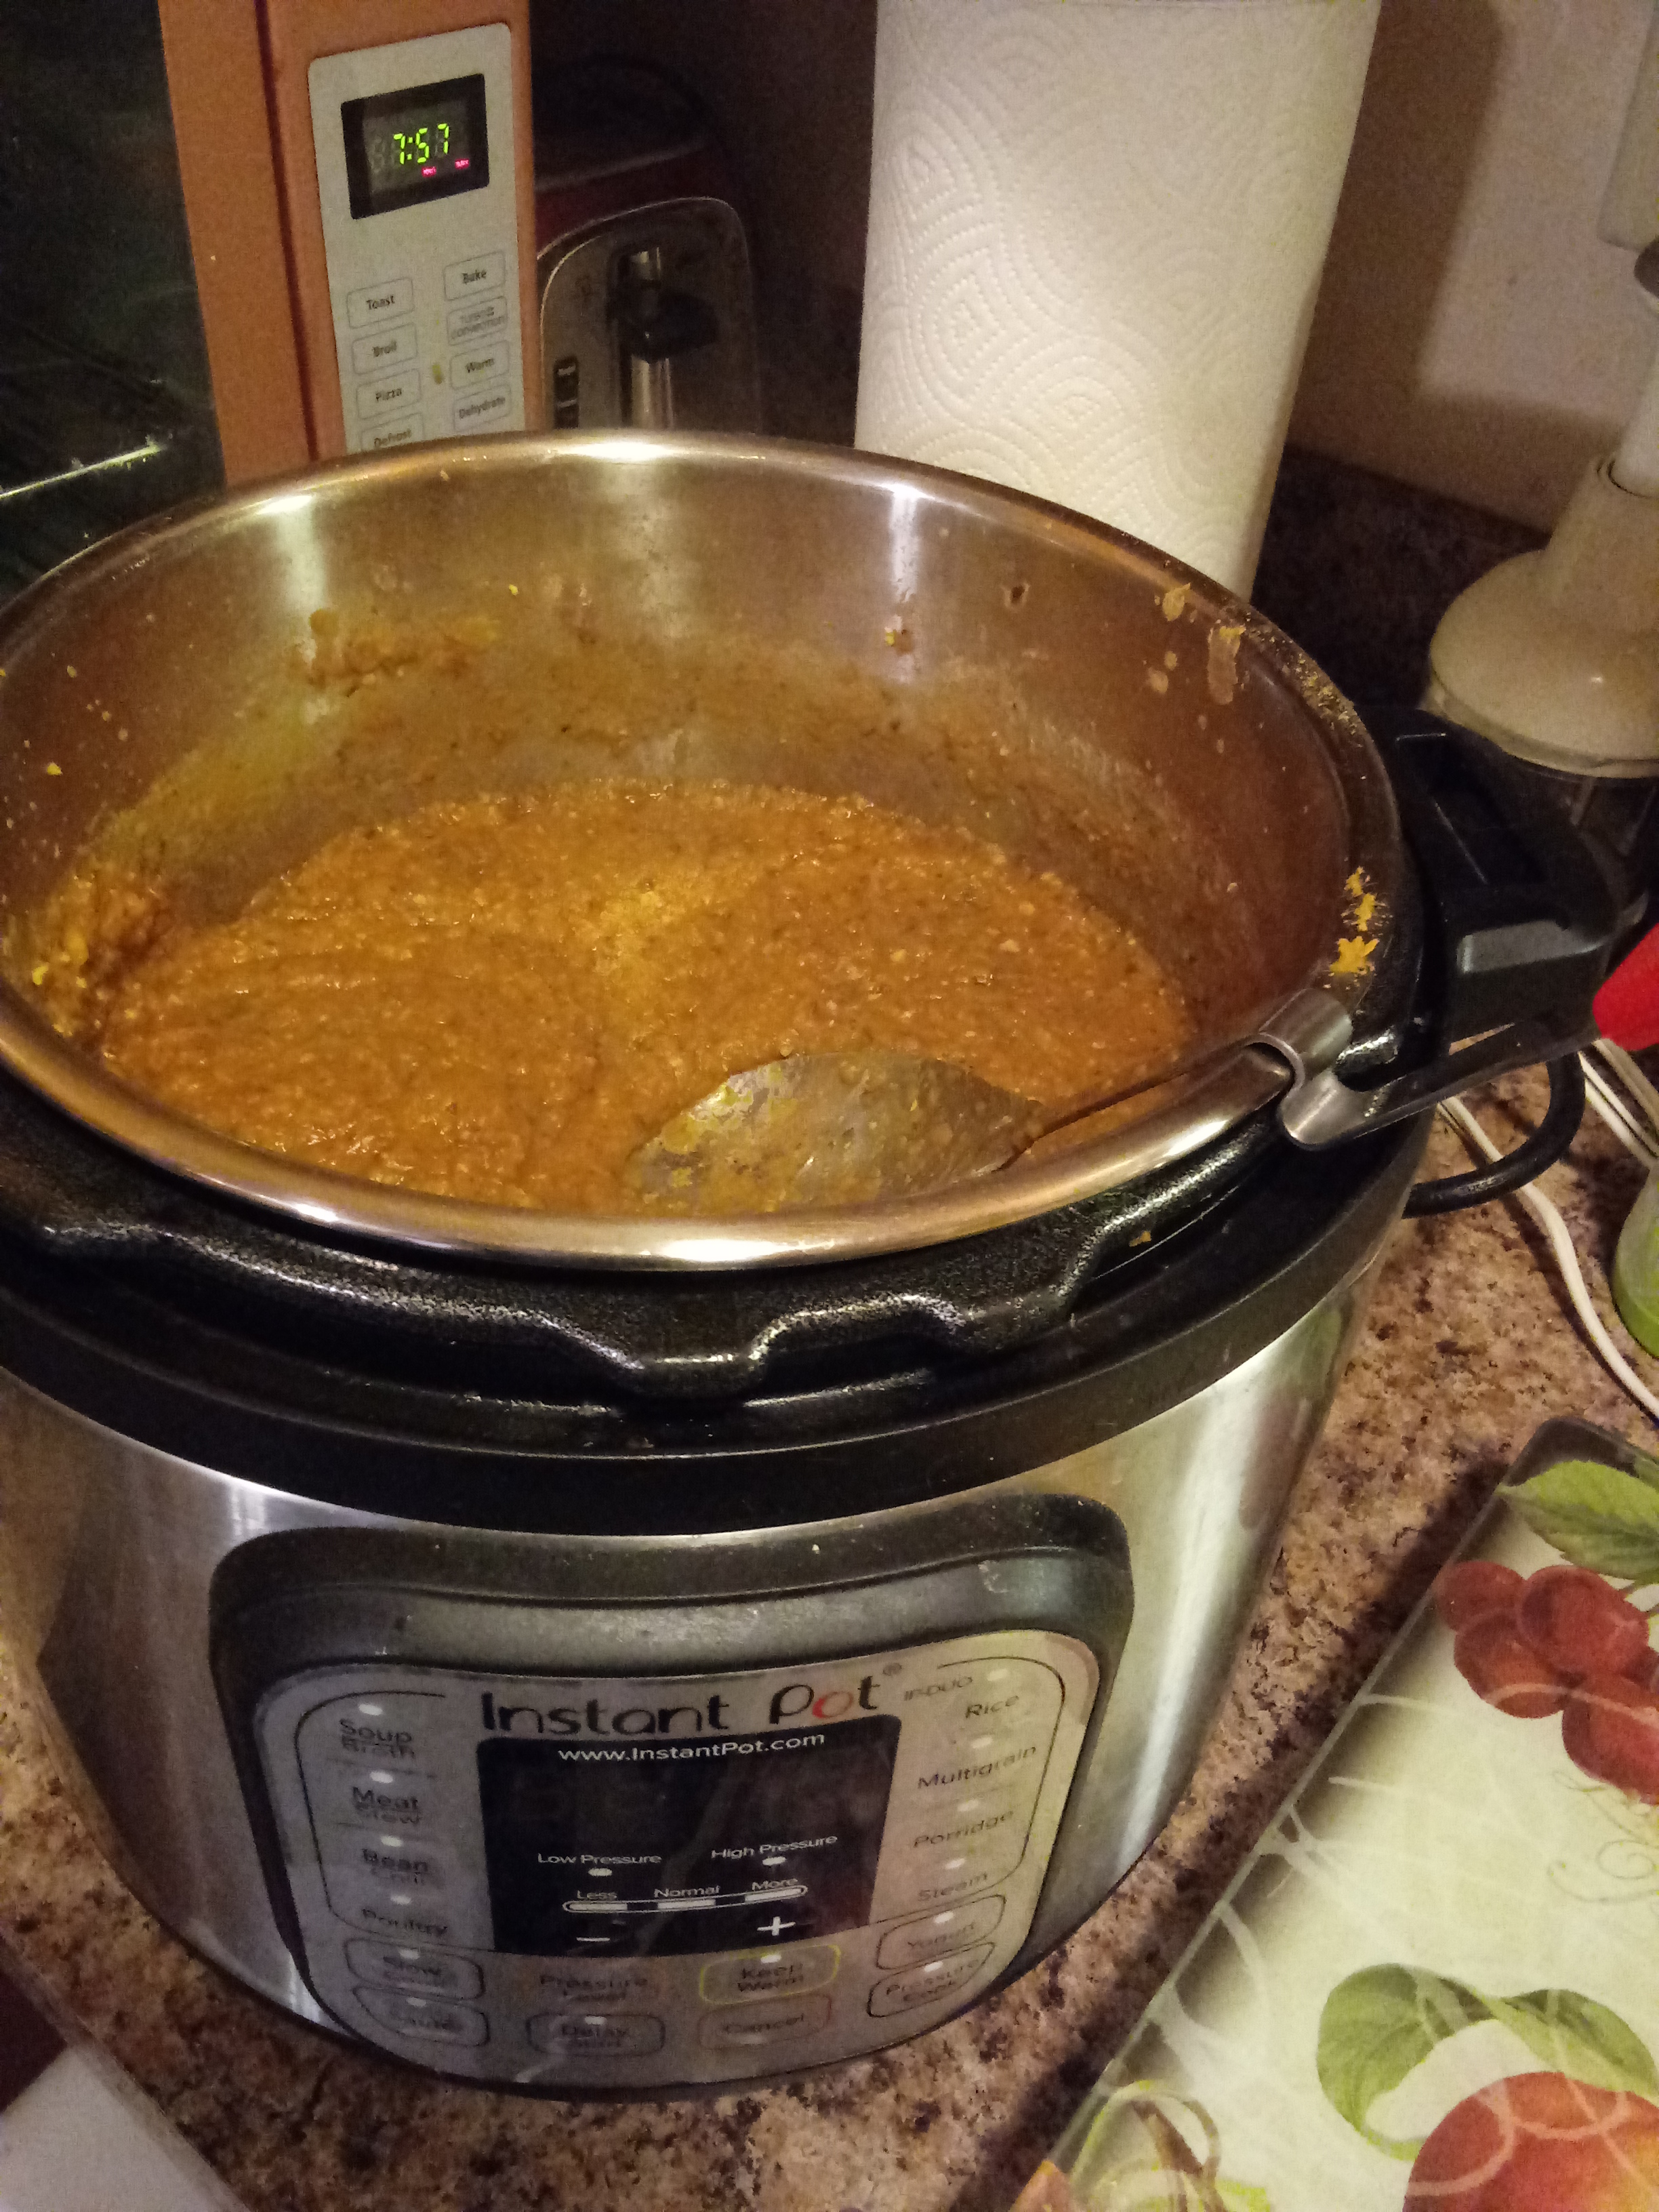
I made this soup in my Instant Pot last night and it came out delicious, so I naturally wanted to share it with all of you. My family has decided to try (and stick to) a one night a week Meatless night, so this was our first week. The soup is not vegan, but I suppose if you use Vegetable Stock instead of Chicken Stock, it would be! It always amazes me how quick dried beans cook up in the pressure cooker! It’s fast, simple, very economical to make, and I fed 4 of us and still have plenty of leftovers for lunches.

Equipment Necessary

  • 6 Qt or Larger Electronic Pressure Cooker
  • Handheld Immersion Blender (Optional)

Ingredients

  • 1 lb. bag of dried Lentils (I used green, but there are yellow if you prefer those!)
  • 1 Pkg fresh whole Mushrooms, washed well and quartered
  • 1 lb. bag of frozen Carrots (or fresh, washed and sliced)
  • 1 large Onion, diced
  • 2 stalks Celery, washed and cut into chunks
  • 28 Oz can of crushed Tomatoes (or fresh chunked)
  • 1 Teaspoon Italian Seasoning (or 1/2 Teaspoon each of Dried Basil and Oregano)
  • 3 Tablespoons minced Garlic
  • 4 Cups Reduced Sodium Chicken or Vegetable Stock
  • Black Pepper
  1. Fill Pressure Cooker with Lentils, Mushrooms, Carrots, Onion, Celery, Garlic, and Seasonings.
  2. Add Stock and Tomatoes, and stir gently. Just make sure everything in the pot is mixed into the liquids. (Essential for pressure cooking!!)
  3. Cook on High Pressure for 18 minutes with Quick Release.
  4. (OPTIONAL) Use an immersion blender to Puree finished soup. (My son doesn’t like the texture of Lentils, so I do this to make it more palatable for him.)
  5. If desired, serve with Parmesan (or your favorite cheese) and bread (French, Sourdough, etc) YUM!

NOTE: This recipe is very similar to my Pressure Cooker Pea Soup

As I mentioned, this makes a whole pot (6 quarts) of soup, which is great for leftovers or freezing. If you don’t need so much, you can easily half it for a more manageable size. Please leave your comments below if you have any questions. Enjoy!!

Suzy


Fruit Crumble

stockvault-fruit-collage138870.jpg
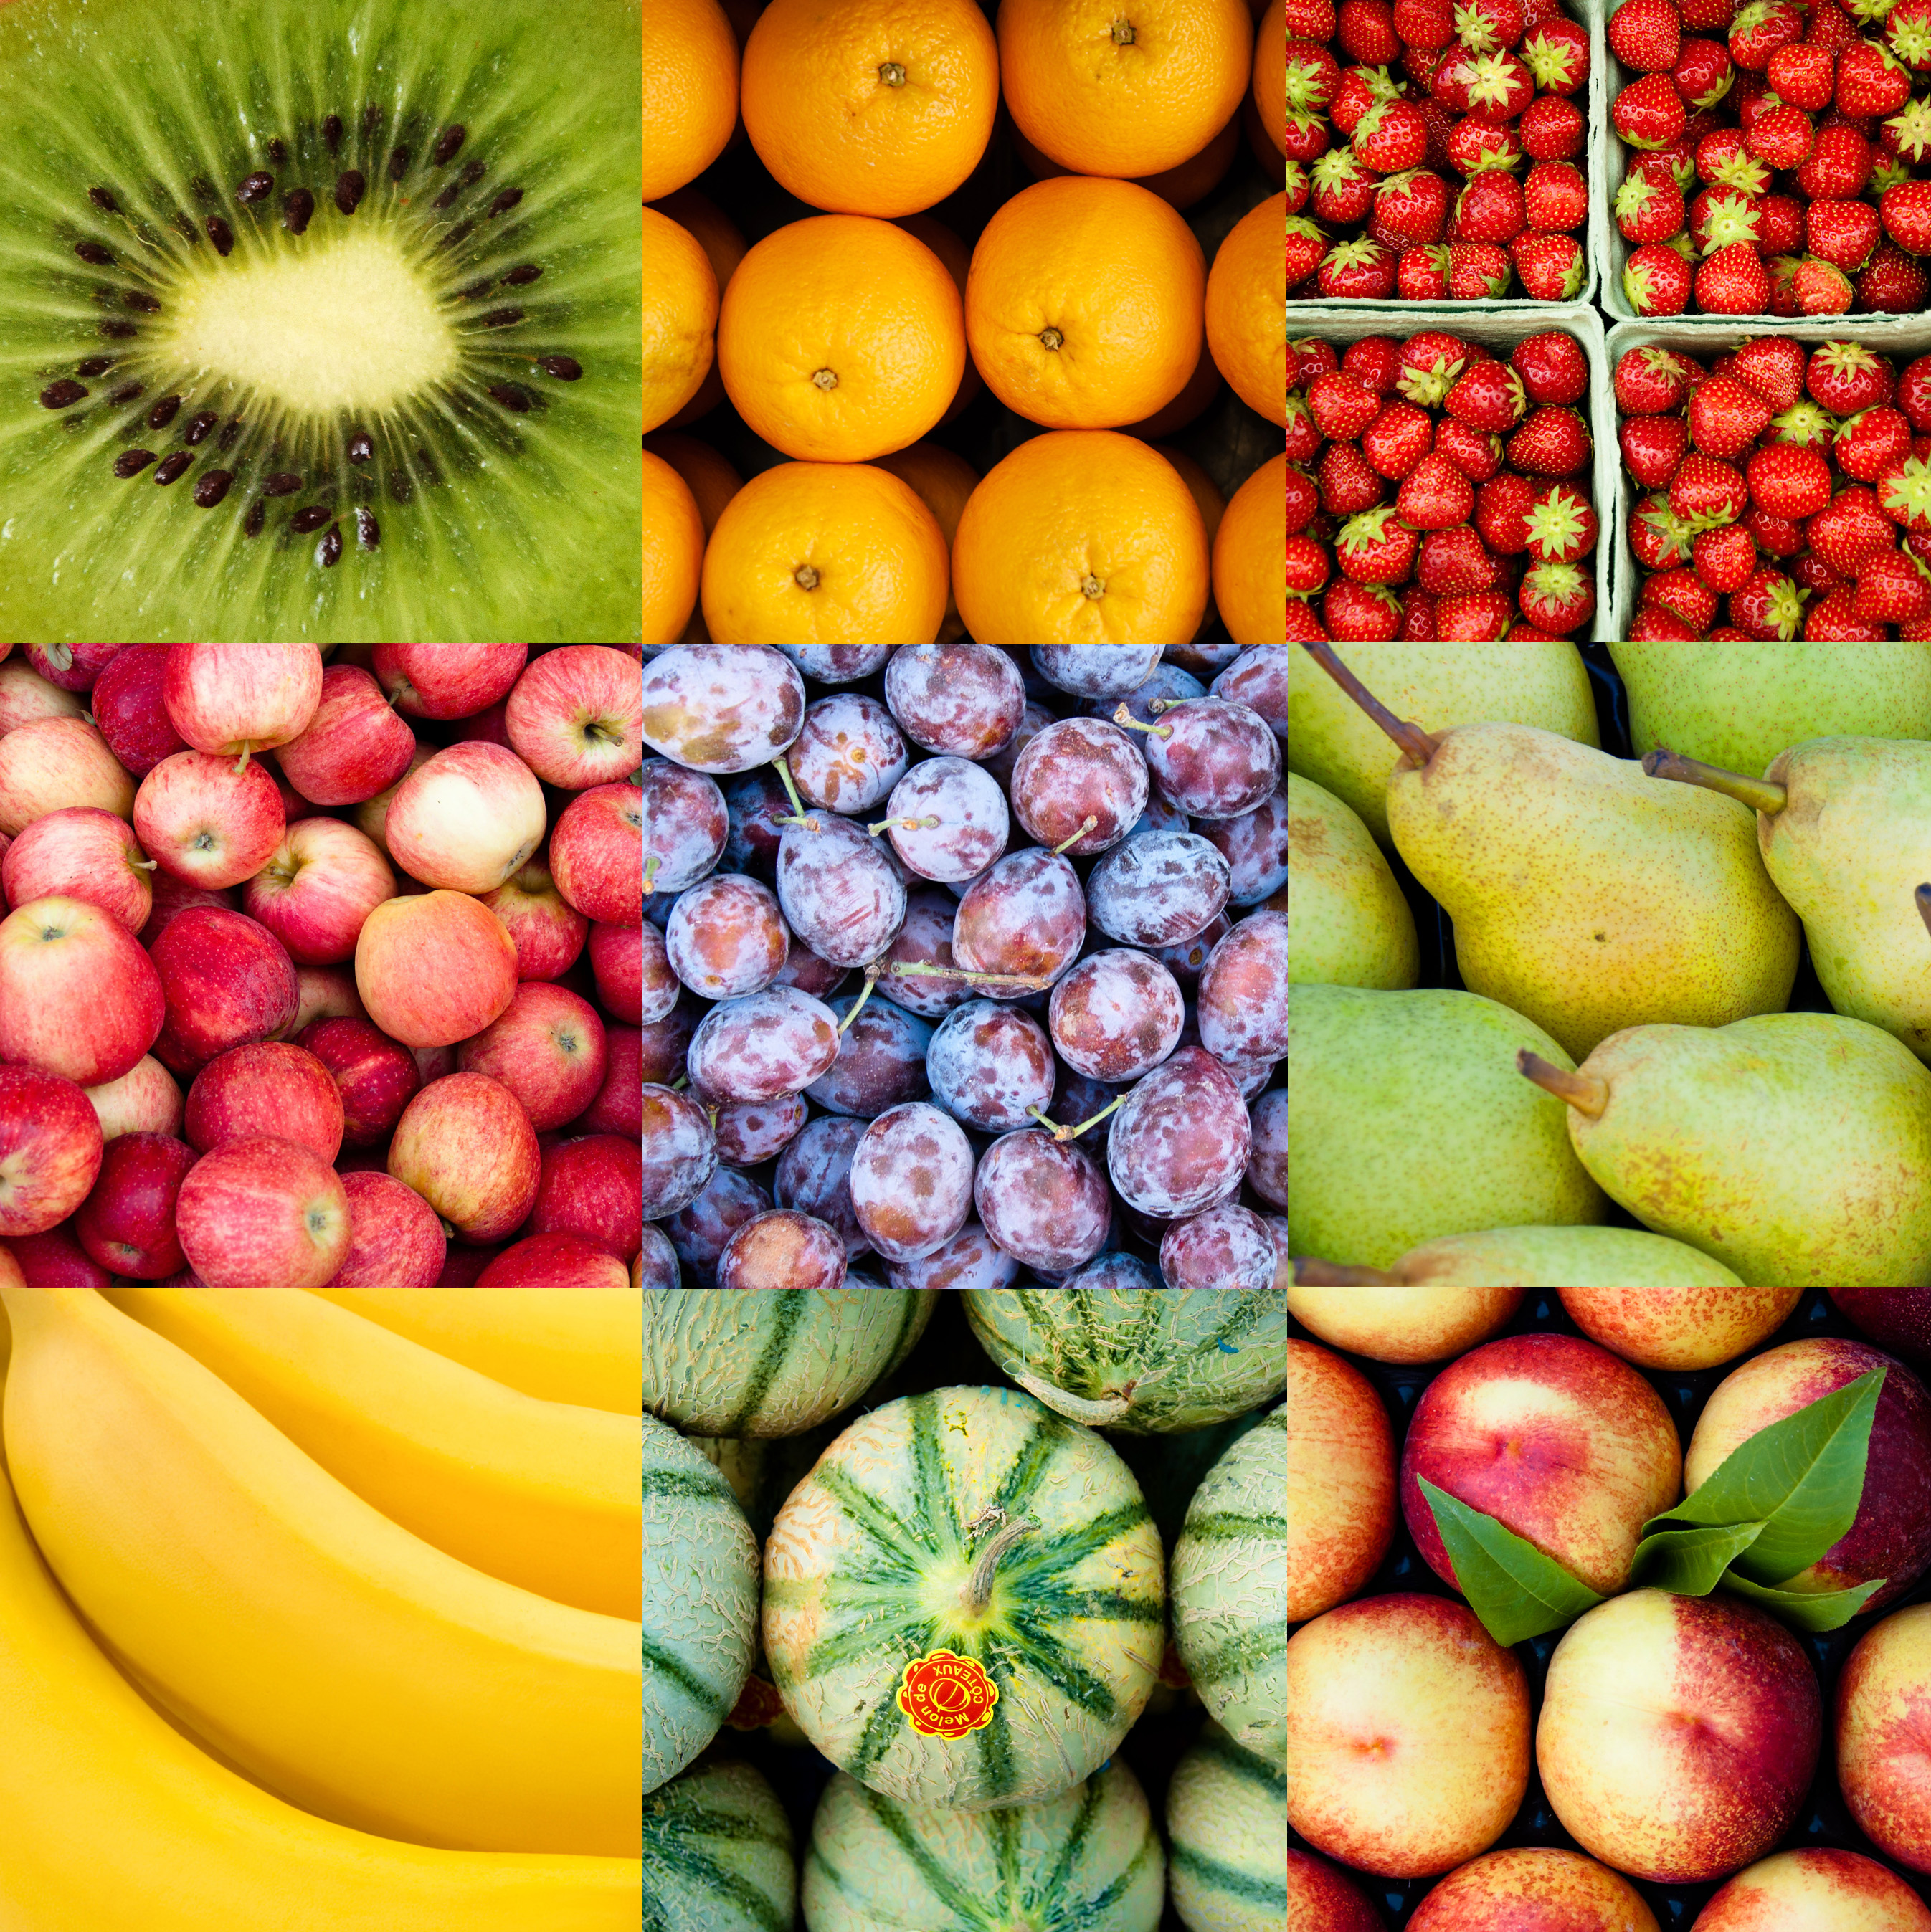
I decided to post this crumble recipe because it is super versatile and economical. You can use any type of fruit that you happen to have, and the rest of the ingredients are all kitchen staples, so there’s no running to the store to pick up anything else. The recipe itself can be altered if you want a little or alot of crumbles, too!! I always use fruit that I have picked up at the store discounted, or something that I have in my kitchen that is on the verge of turning, so it doesn’t get wasted!!

EQUIPMENT NECESSARY

  • 13″ x 9″ Casserole Pan
  • Oven

INGREDIENTS

FILLING
  • 6-7 Cups Fruit, Diced or Cut up
  • 1/2 to 1 Cup Sugar (depending on how sweet you like it!)
  • 2 Tsp Lemon Juice
  • 2 Tbsp Cornstarch
  • 1 Tsp Cinnamon, Nutmeg or Ginger (depending on the fruit you use)
CRUMBLE
  • 1 Cup Quick Cook Oatmeal
  • 1/2 Cup All Purpose Flour
  • 1/2 Cup Brown Sugar
  • 1/2 Cup Sugar
  • 1/2 Cup (1 Stick) Cold Butter, Cut up
  1. Preheat oven to 375 Degrees.
  2. Combine all Filling ingredients in a bowl, and pour into 13″ x 9″ Casserole pan
  3. Combine all Crumble ingredients in a bowl and mix together dry ingredients and butter with a fork until crumbly (sorry, I couldn’t resist! LOL) and pour over Filling in pan.
  4. Bake 30-35 minutes until bubbling.
  5. If preferred, serve warm with vanilla ice cream!! YUM!!


Supermarket Shortcuts!

ShoppingcartOver the years I’ve been able to discover lots of different ways to change everyday grocery products into big ‘helpers’ in my kitchen. They save me time (and money!) and have made it possible for me to serve delicious meals to my family night after night. I’m sure this is a topic I will return to because I have so many items I use, I just take it for granted at this point. So for now I will start with a few, and update later. Some of them may seem obvious, or even things that you are already doing, but I want to list them here anyway, in case you haven’t thought of them!

JARRED SPAGHETTI SAUCE

OK. So you say, how can jarred sauces be economical? Yes, there are many sauces that are expensive, but if you buy the inexpensive ones (on sale), you can add your own twist to them and make them taste just as good (or better!) than the more expensive versions. I never use more than ONE jar of premade spaghetti sauce, and I always have large cans of diced and crushed tomatoes on hand to stretch it. A bottle of Wegman’s spaghetti sauce is under $1, and they come in lots of flavors. To that, you can add the canned tomatoes, then spices (garlic, basil, Italian seasoning, etc), leftover vegetables, onions and tomatoes, mushrooms (whatever you have on hand!), and have a delicious version of the (more expensive) “Chunky Garden” sauce. Add enough for a thick, delicious sauce and you have a hearty meatless spaghetti meal! Super economical and good for you too!!

POWDERED GRAVY PACKS

Gravy packs are a great way to add flavor to soups, sauces and stews. When I make beef stew,  (see recipe here), I use brown gravy mix. Just one envelope adds a really nice flavor to the meal. These gravy packs come in lots of flavors, too! I usually keep Beef, Brown, Chicken and Pork on hand so I have them for nights when I run out of flavor/sauce ideas.  I use the chicken packet when I make homemade soups, and instead of water, I add prepared bouillon (vegetable or poultry flavored) as well for lots of flavor! Grab them at the supermarket when they go on sale, and you can save even more! (I never pay more than 79 cents for them). The flavor packet aisle has lots of ideas for quick prep, so make sure you check it everytime you shop. Every now and then you’ll find an instore sale and pick them up 3 (or 4!) for just $1. AMAZING!!

PASTA or RICE PREFLAVORED BOXES (or ENVELOPES)

Preflavored rice or pasta mixes like Rice-a-Roni or Knorr can be a really nice side dish with your protein for dinner, but they can add up fast if you’re feeding a hungry crowd. As with the Sauces, I never use more than ONE of these. For the rice, I prepare an extra cup of white (or brown, if you prefer) rice along with it, add some extra spices, and we always have enough! For example, just a few nights ago I prepared a Rice Sides envelope of Butter and Herb Rice. I make it in my microwave rice cooker, so I followed the instructions for the microwave. The recipe called for 3 cups of water, but I added 1 cup of dry rice, so I added 5 cups instead (1 cup of dry rice cooks in 2 cups water). Then I added some spices I keep in my pantry all the time (see my post here). Parsley, Rosemary (just a little!) and black pepper. It did take longer to cook (instead of 15 Mins I did it for 20 and let it sit to finish) YUM! I easily doubled what I would’ve yielded from the original envelope, and it tasted just as good. You can do this with pasta as well. No matter what flavor it is, just add a little more, and be certain if you are microwaving to add extra liquid for cooking. (If you are not using the microwave, you can cook the extra pasta/rice on the stove and add it in when you finish preparing the enveloped or boxed mix). I even mix up pastas and just use whatever I have on hand!

There are so many shortcuts we can take in the kitchen, this is just the beginning! Feel free to comment below and give MORE ideas! It would be great to hear from all of you.

Happy Cooking!!

Suzy